| Pricing How to install Windows How to install drivers How to install modem driver Place an order/Contact Us 
| | How to install Windows
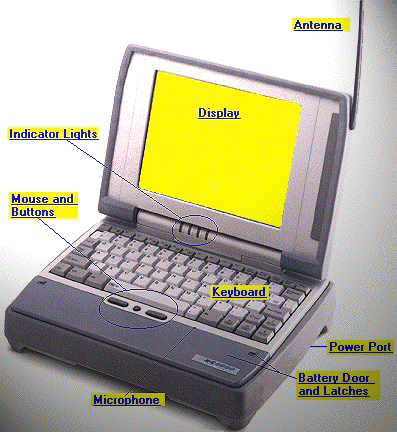
The Itronix XC-6000 comes with 8MB base RAM which is more than sufficient to run many DOS applications. If you would like to run your XC-6000 in Win 3.11 or Win95, refer to the process below. - Use a torque size 9 screwdriver to remove all the screws to reveal the internals of the XC-6000. You may have purchased the model which comes with either the Viper 260/340MB PCMCIA HDD (by Integral Peripherals) or the IBM 1.6GB IDE Notebook HDD.
- Remove the HDD from its protective padding or bracket
Viper PCMCIA HDD
The Viper PCMCIA HDD is also a removable portable HDD. To install copy the Windows setup files into the HDD, you'll need a notebook with 2 PCMCIA slots. The HDD uses only 1 slot but because of its thickness, you'll need a notebook with 2 slots. - Insert the HDD into the notebook PCMCIA slot. Even with Win95, the HDD will be automatically detected.
- Secondly, format the HDD and copy system files into it (to make the HDD bootable when returned into the XC-6000). Copy the Windows setup files into the HDD.
- Return the HDD into the XC-6000.
- Turn on the XC-6000 and it will boot into DOS.
- Run the Windows setup file.
- Install Windows like you would normally do.
IBM IDE HDD
You'll need to have an external USB notebook HDD casing ready: - Insert the HDD into the casing and connect it to any notebook or desktop.
- The HDD will be detected as an external USB storage media
- Format the HDD and copy system files into it (to make the HDD bootable when returned into the XC-6000). Copy the Windows setup files into the HDD.
- Return the HDD into the XC-6000
- Turn on the XC-6000 and it will boot into DOS.
- Run the Windows setup file.
- Install Windows like you would normally do.
|